

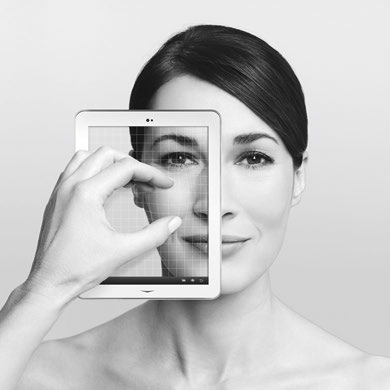
Want to look younger? Aim for a sculpted Y-shape face with skincare products designed to help strengthen the skin’s collagen network.


Want to look younger? Aim for a sculpted Y-shape face with skincare products designed to help strengthen the skin’s collagen network.
In pursuit of the coveted V-shape face – considered a key feature of youthful beauty among many women today – the neck is often neglected. Consequently, signs of ageing often appear on the neck first, as the skin there is thinner than that on the face. What we should do, therefore, is aim for a sculpted Y-shape face instead – and this means working on improving the look of the face and the neck.
To have a sharper jawline as well as a firmer, tighter neck within easy grasp, turn to Eucerin’s Volume-filler range, which has a blend of actives – magnolol, oligo peptides and hyaluronic acid – to help plump the skin and define facial contours over time.

A SKINCARE REGIME FOR A YOUTHFUL LIFT
After cleansing and toning, pat on Eucerin Volume-filler Concentrate, designed to boost the efficacy of the other products in the range when used together. Its ultra-light formula means it absorbs quickly into skin, allowing you to continue with subsequent skincare steps immediately after.
Then, take care of your eye area with Eucerin Volume-filler Eye Cream. The promise is a firmer eye area with less obvious fine lines. Apparently, it is formulated, too, to protect against UV damage.
Wrap up your day routine with the firming and moisturising Eucerin Volume-filler Day cream.
At night, replace this with Eucerin Volume-filler Night cream, which has an additional ingredient – vitamin B5, which has hydrating and anti-inflammatory properties – to give you a calm, glowing complexion in the mornings.
GIVE YOURSELF A Y-SHAPE MASSAGE
Complement the effects of the skincare products with the brand’s Y-shape Massage. Repeat each step three times.

Step 1: Gently massage neck and jawline, starting from base of neck and stopping at front of ears.

Step 2: Massage face along jawline, starting from middle of chin and ending at ears.

Step 3: Using middle and ring fingers, massage mouth area; start from corners of mouth and move inwards, towards middle of Cupid’s bow. Stop there and deliver pressure for three seconds.

Step 4: Using middle and ring fingers, massage mouth and nose area. Start from centre of chin, and move outwards and upwards, past corners of mouth. Move fingers along sides of nose, stopping at inner corners of eyes. Press for three seconds.

Step 5: Massage cheeks using middle and ring fingers; start from corners of mouth, moving outwards and upwards, towards ears. Stop when you reach earlobes; press and hold for three seconds.

Step 6: With middle and ring fingers, massage skin near nostrils using circular motions. Then, move outwards and upwards until you reach temples. Stop and press down for three seconds.

Step 7: Applying light pressure, glide ring fingers from outer corner of eyes to inner corners, passing through under-eye area.

Step 8: Glide ring fingers from inner corners of eyes upwards and outwards, tracing the brow bones. Glide past outer corners of eyes, stopping at temples; apply pressure for three seconds.


