

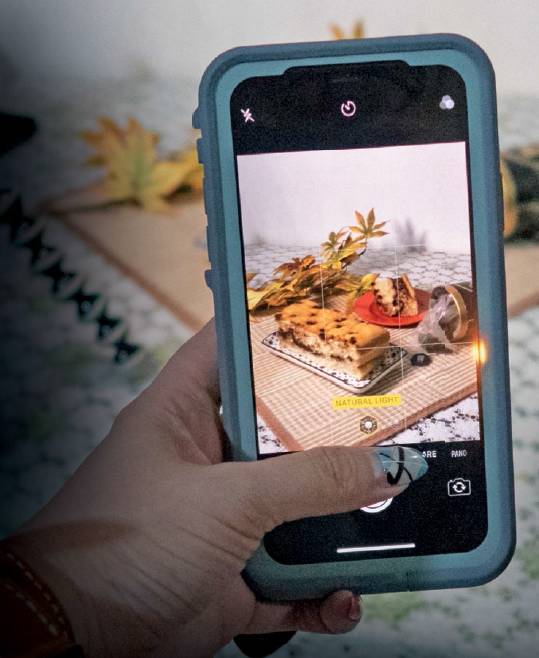
Because phone cameras and apps have improved so much now, Eleanor feels like it’s easier than ever to take good food photos and edit them. Here are her tips to get better food photos with just your phone.


Because phone cameras and apps have improved so much now, Eleanor feels like it’s easier than ever to take good food photos and edit them. Here are her tips to get better food photos with just your phone.
Tips and images by Eleanor Tay (@geekyelephant), Edited by Marcus Wong
HERE ARE SOME TRICKS ELEANOR USES WHEN TAKING MOBILE PHOTOS:
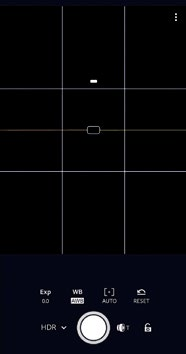
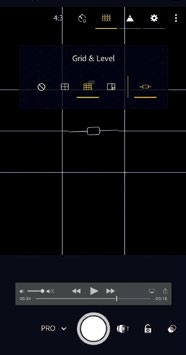
Grids - level without photo
Perfectly levelled photo.
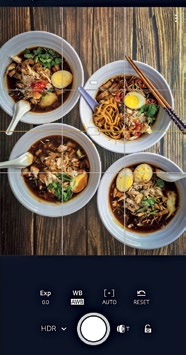
Grids -with image ratio applied.
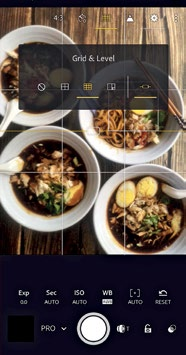
Food elements arranged to the grid.
USE THE GRID IN YOUR CAMERA APP
Eleanor recommends using the grid feature in your favorite camera app. You can usually enable it in the settings of most camera apps, and this can help you accurately place your subject in frame. Eleanor suggests using this to position the food using the rule of thirds to make the photo look more appealing. It also helps if you want to perfectly center your food in the frame.
Some apps even include a level to show you if you’re holding your phone parallel to the ground—a great feature for taking flat lays! Turn this on under the settings in the Adobe Lightroom CC app to ensure you get the right angle for your shot. The app gives you haptic feedback when the phone is perfectly aligned, so you’ll know just when to take the shot.
To make things easier, you can also adjust the image ratio you’re capturing in before you start. For example, with Instagram Stories— shoot your photos in the 16:9 ratio using portrait mode. Framing your food accurately within your frame will make the resulting images perfect for use. If you’re new to mobile photography or taking your first steps to improving your photos, start by using the right image ratio, then practice framing your photos to get them right.
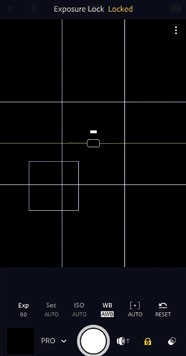
Tap the lock to fix white balance.
Focus and white balance set separately.
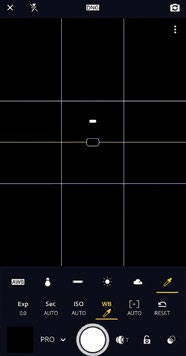
Use the color dropper tool to get white balance accurately.
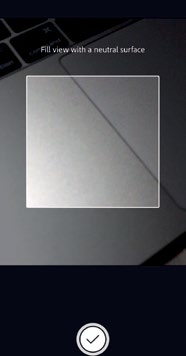
Pick white balance from any neutral grey color.
CONTROL YOUR EXPOSURE
The thing with mobile phone cameras is that they take everything in the frame into consideration when determining exposure. That means they will sometimes overexpose parts of your photo if you are focusing on a darker object. If you find this happening, adjust the brightness of the object in focus using the brightness setting.
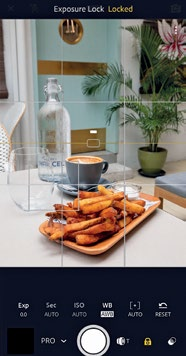
If you want more control over exposure, hop into the Adobe Photoshop Lightroom CC app and use the inbuilt camera in Pro mode. With this, you can control both focal point and exposure separately. To do this, tap on an area in your frame which you’d like to use to determine exposure, then click on the lock symbol at the bottom right of the app. Once the lock turns yellow, exposure is set and you can now move the focal point around again without changing exposure.
Another aspect you can control within the Lightroom CC app is the white balance. In Professional (PRO) or High Dynamic Range (HDR) shooting mode, pick the white balance tool (dropper icon), then point your camera to focus on an object that is white, black, or neutral grey. This helps the camera to calibrate the white balance setting, so that it automatically adjusts for the proper color temperature when you point it back to the food. Helpful when you visit restaurants with unusually warm or cool lighting.

Portrait Mode used on food gives a nice depth of field effect.
Use contrasting colors to bring out your subjects.
PORTRAIT MODE TO GIVE ADDED DEPTH OF FIELD
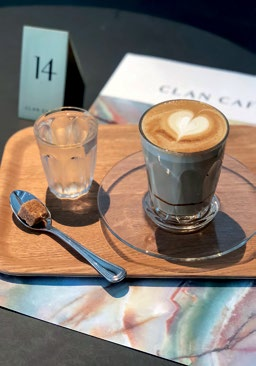
One of the camera features Eleanor likes to use on her iPhone is Portrait Mode, as this works with food too. Using this, Eleanor gives added depth of field to any dish captured and brings more focus to the main dish. She says that once you get the hang of it, you can plan to get a perfect shot each time by adjusting the objects in the background so they fade away nicely.
This is helpful in a few ways. Against a simple/ plain background, it helps the subject to stand out. It also lets you capture the ambience of the location by using the restaurant/café as the background. Eleanor says it be tricky to use Portrait mode when you’re starting out as the edges of your subjects may get blurred too much. One way to prevent that is to simply ensure that your background is of a contrasting color from your main item.

Add another backdrop to change the look.
CHANGE UP THE BACKDROP
Want an easy way to affect the mood of a photo? Change the background! You can plan in advance to bring out a backdrop if you know that you’re going to be taking photos in a less photogenic location. Even a simple piece fabric can spruce up the image or change the mood so that it better suits your social media feed.
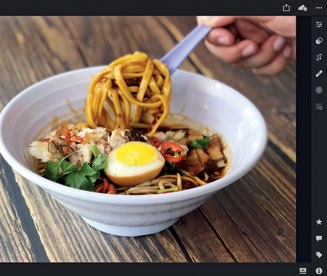
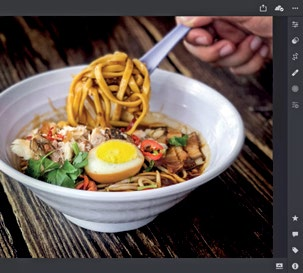
In this example, we used a wooden backdrop to cover the table, giving the image a nostalgic feel. You can also use things like fabric napkins to change the tabletop texture if it’s not to your liking.
With a little bit of editing in Lightroom CC, Eleanor further improved the look of the image by darkening, adding contrast and desaturating the “wooden” backdrop so that it looked more realistic. As the photo was taken in natural daylight, not much editing to the actual dish was required.
Eleanor thinks that the best part of using a mobile phone is that you can take as many photos as you want and pick from your options after. It also gives you a chance to review your photos and learn from your mistakes. And if you edit using Lightroom CC on mobile, you can always jump onto your desktop to continue editing there as your edits will be automatically synced over to Lightroom CC on desktop.
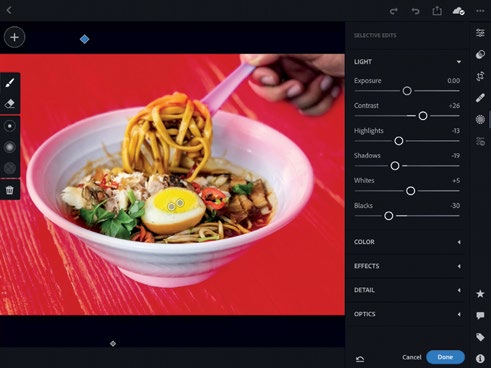
Backdrop-selective edit.
Backdrop-before edit.
Backdrop-after edit.


