

Make pictures from your phone look great with Adobe Photoshop Lightroom for Mobile.


Make pictures from your phone look great with Adobe Photoshop Lightroom for Mobile.
Have you ever hopped on a plane and looked at the inflight magazine? You look at the photos and think, “my photos are never that good”. Although they use great photographers, every photo you see in the magazines has been edited to bring out the best in them – adjusting colors, lighting, cropping etc. can make a good photo great.
Adobe Photoshop Lightroom for Mobile is a mobile version of the Lightroom desktop application used by photographers around the world to turn great photos into masterpieces. It’s available on both iOS and Android for both phones and tablets, and it’s free!
If you are a photographer or just like taking pictures with your phone, then this app is for you. Lightroom for Mobile will allow you to enhance your photos to bring out the best in them and make them even better. Take it and Make it!
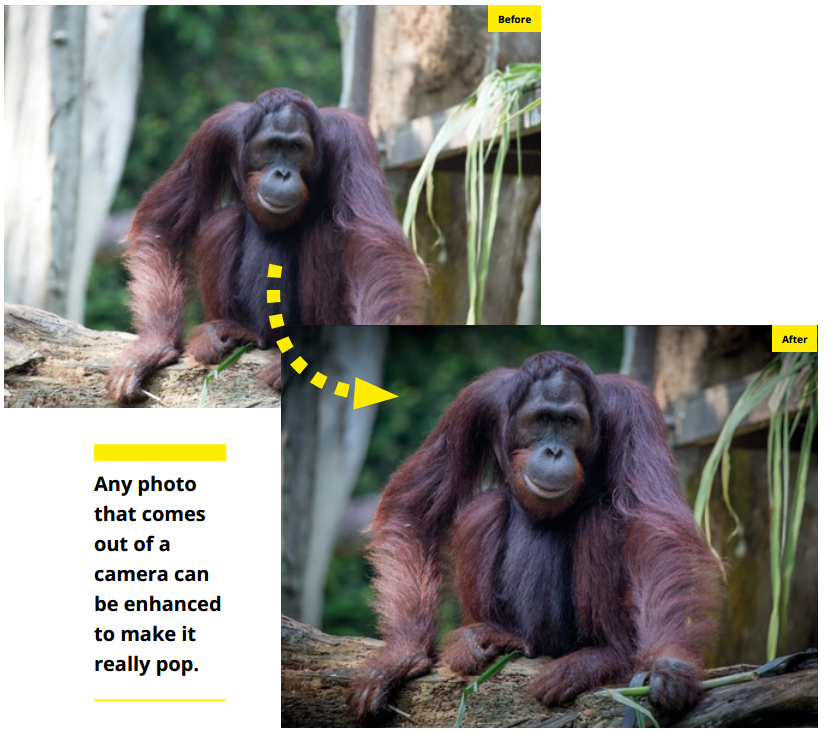
Recently, I spent a Sunday morning with friends taking photos of some of the animals at Singapore Zoo. I was flying out to Taipei the next day, so I loaded the photos onto my iPad and edited them on the flight. I was pretty happy with the shots I took, but I know that any photo that comes out of a camera can be enhanced to make it really pop.
Here’s what i did:
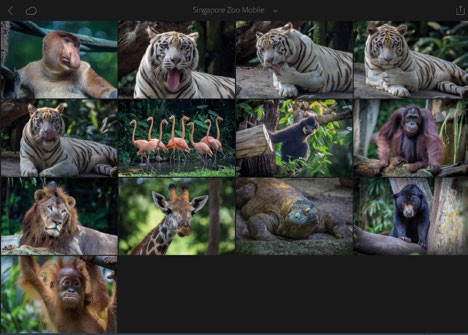
1. I created a new Collection in Lightroom and imported the photos. You can have a bunch of Collections to organize your photos into holidays, or events, or anything you like.
I sorted through the photos and deleted the ones I didn’t want, leaving just my favorites.
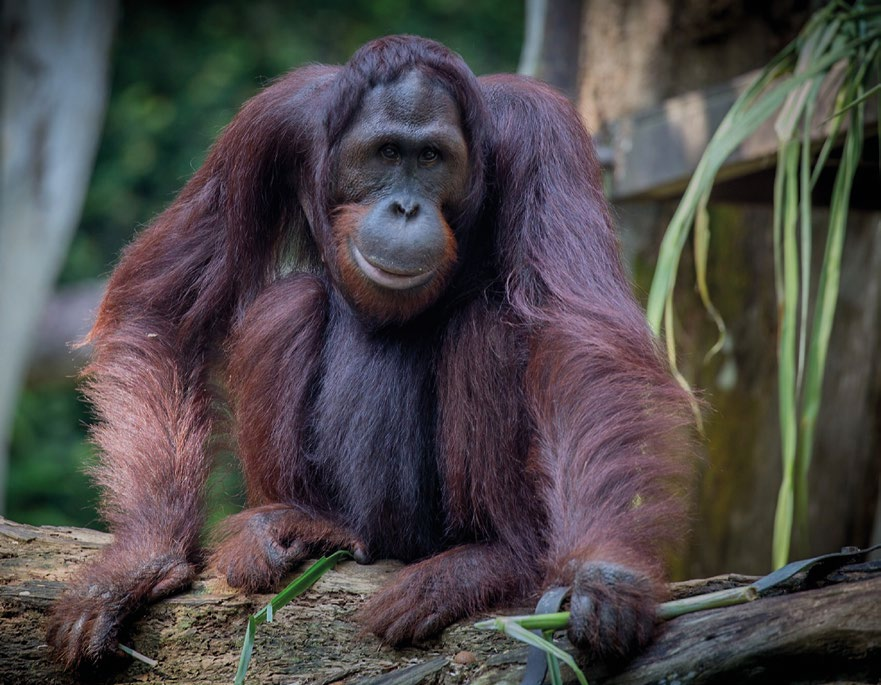
2. Next, I tapped on each photo and edited it. One of my favorites is the Orangutan, so let’s work on that one.
All the categories of editing tools can be found at the bottom of the screen, and you can step through them in any order. The edits are non-destructive so I can go back and change any setting at any time.
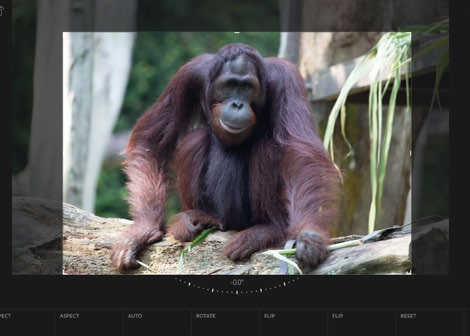
I like the shot, but I want to really focus on the Orangutan and bring the picture to life. So first, I’ll select the Crop tool and just crop it in a little. Then I click the “Tick” to accept the change and move on to the Edit section.
For those of you who are familiar with Lightroom for desktop, many of the same tools are available under Edit – the Basic panel, Tone Curve, Vignetting, SplitTone, Color / B&W, Dehaze and Lens Correction. For this image, I am just going to use the Basic panel and Vignetting.
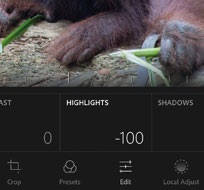
3. Under the Basic panel, I selected Highlights and I have dropped them right down to -100 by just dragging the slider with my finger. Next, I’m going to lift Shadows, drop the Whites and Blacks (as my photo is a little hot), and then raise Clarity a touch just to add a bit of sharpness to his fur.
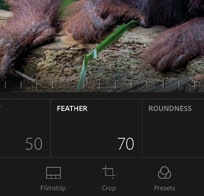
4. Already I’m pretty happy with just the few changes that I have made, but I want people to really focus on the Orangutan. So, I’m going to move to the Vignetting section and just add a soft black vignette to take the attention away from the bright edges. At any time, I can tap and hold on the photo with three fingers to see the ‘before’ and then let go to see the ‘after’, which helps me compare exactly what changes I am making.
5. Now that is done, I can share my finished photo in a range of ways – I can save it to my Camera Roll, share it on Facebook, Twitter, Instagram, Behance etc. or I can open it in Photoshop Fix or Photoshop Mix to continue editing it.
For this particular image, I didn’t need to use all the tools available, however you should explore the rest of the tools to see if they can help you enhance your photo to tell the story the way you want.
No matter what photo you take, a few minutes in Lightroom for Mobile will help you make it really stand out.
Take It – Make It!


