

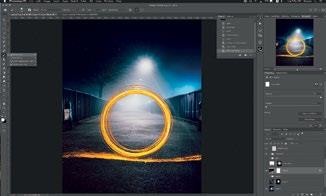
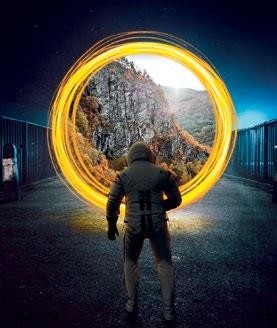
Goh Guoxin thinks a good sci-fi image combines several factors such as an out-of-this world concept, high tech elements and a color scheme; in particular, a notable neon effect contributes to the overall atmosphere. One popular sci-fi trope is the portal between worlds. In this advanced Adobe Photoshop tutorial, he shows us how to create our very own portal image.


Goh Guoxin thinks a good sci-fi image combines several factors such as an out-of-this world concept, high tech elements and a color scheme; in particular, a notable neon effect contributes to the overall atmosphere.
One popular sci-fi trope is the portal between worlds. In this advanced Adobe Photoshop tutorial, he shows us how to create our very own portal image.
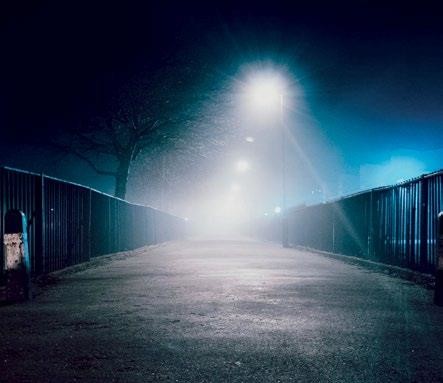
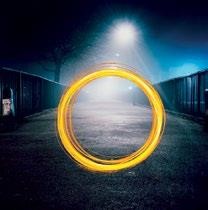
STEP 1 CHOOSE A BACKGROUND
For this edit, Guoxin chose a night shot as that’s a common setup for a sci-fi theme. Adobe Photoshop CC was used for his edits.
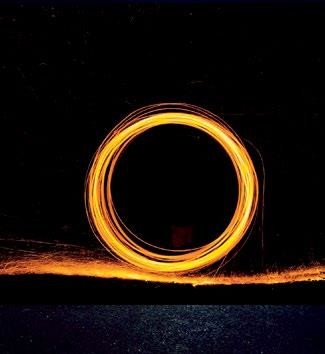
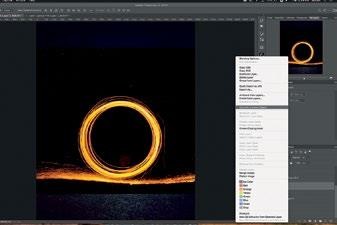
STEP 2 CREATING A PORTAL
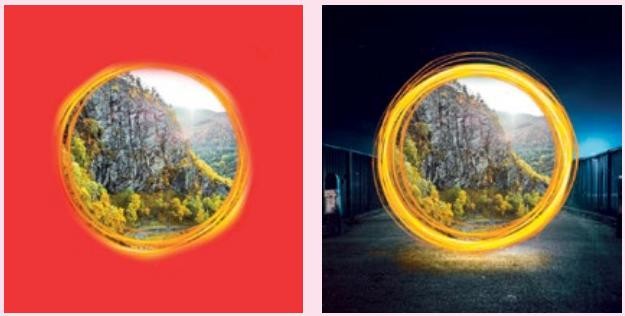
To create his portal, Guoxin started off with the stock image on the left.
We only want the circular light streaks here, so Guoxin uses a simple technique that combines Blend If and Masking to extract it.
First, import the stock image into the same document as the background. Convert this into a Smart Object by right-clicking on it and select Convert to Smart Object. (There should now be an icon at the bottom-right corner of the thumbnail to indicate the change.)
Converting layers to Smart Objects allows us to apply filters, perspective/puppet warps and resize them in a non-destructive manner. Several filters can also be stacked onto the layer, and if we decide not to apply any of the filters in the stacked filters, we can simply delete it or clear the entire stack and start again.
Smart Objects do however consume more memory space and processing power; especially when you have many filters applied. To save space and allow faster processing, we can “finalize” it by right-clicking on the Smart Object and selecting “Rasterize Layer” to “flatten” the layer. This action is irreversible though, so only do this when you know that you won’t be editing it anymore.

With the Smart Object still selected, click on Add a New Layer Style and select Blending Options.

This will bring up the Layer Style dialog window.
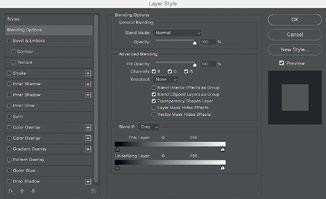
Let’s play with the Blend If option. Make sure “Grey” is selected in the Blend If dropdown menu as we only want to alter the visibility of the layer based on its luminosity in greyscale and not the RGB colors. Pull the leftmost handle in the This Layer slider until most of the black areas in the layer are transparent. For this, Guoxin set a value 100. Then click OK.
By default, a new layer mask is always white. White shows (opacity 100%) while Black hides (opacity 0%).

A white thumbnail will appear beside the original thumbnail.
Next, let’s apply a layer mask on it to remove the residual lights on the ground. Click on the Add layer mask icon to create a new mask.
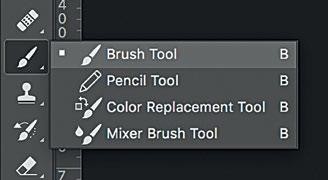
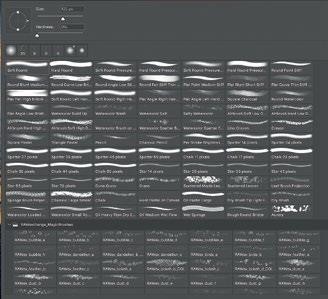
Click on the Brush icon and select Brush Tool, then bring up the Brush options dialog window by right-clicking anywhere on the image. Select the Soft Round brush type and make sure the Hardness slider value is set at 0%. With a brush size of around 120px, you can now press the “Enter” key to dismiss the dialog.
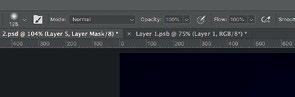
Set the “Opacity” and “Flow” values to 100%.
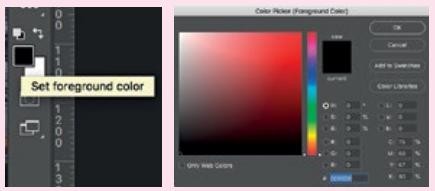
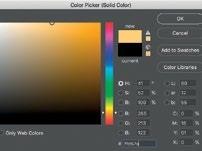
Set black as the foreground color by bringing up the Color Picker dialog window. Click “OK”.
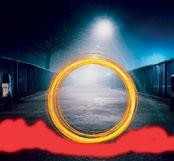
Make sure the layer mask is selected, then start to brush on the unwanted areas (spillage on the ground). To show the masked areas, hit shortcut key “” (backslash) to toggle showing of masked areas in red.
Blend If is a powerful tool that works like the layer Mask tool. With this, we can “hide or show” a desired luminosity range of the layer. By default, the slider starts with a value of 0 and ends at 255 which means the entire luminosity (from black to white) is visible.
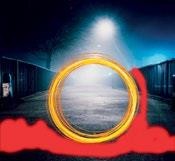
Refine the masking by zooming in to mask out any loose ends.

The final masked out areas are shown below.
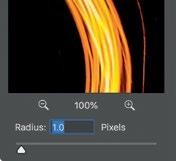
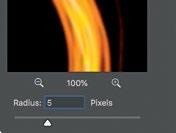
To make the ring of light appear smoother, select the main layer by clicking on the layer thumbnail (not the Mask). Then, apply a blur by clicking on Filter -> Blur -> Gaussian Blur to bring up the dialog window. Set the “Radius” value to 1 pixel and click on “OK”.
The red areas (opaque) are hidden. By changing brush settings, you can adjust the brush opacity/flow to achieve the degree of masking you want.
A Gaussian Blur Smart Filter will be added to the Smart Object.
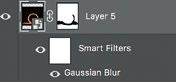
Double-click on the Smart Object and give it a more meaningful name like “Base Portal”.
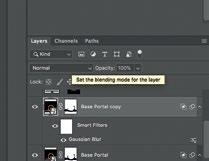
To make the glow even smoother, duplicate it by clicking on “Layer” then “Duplicate Layer”.
A new layer named “Base Portal copy” is created. With the new duplicated layer selected, double- click on the Gaussian Blur filter under Smart Filters to bring up the dialog window again. Now, change it to 5px.
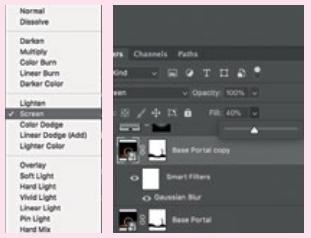
Then, change the Blending Mode to “Screen” and set the “Fill” value to 40%.
Next, let’s create a glow on the ground. Create a new “Color Fill” layer by clicking on Create new fill or adjustment layer and select Solid Color.

By default, a white Mask layer is also created along with it.
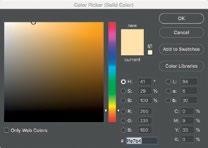
Choose a color that matches the glow of the portal. In this case, you can double-click on the Color Fill layer thumbnail to bring up the Color Picker dialog window. Then enter hex value “ffd57a” and click “OK”.
Then, select the Layer Mask and click on Image -> Adjustments -> Invert. This will inverts the mask, making it transparent.
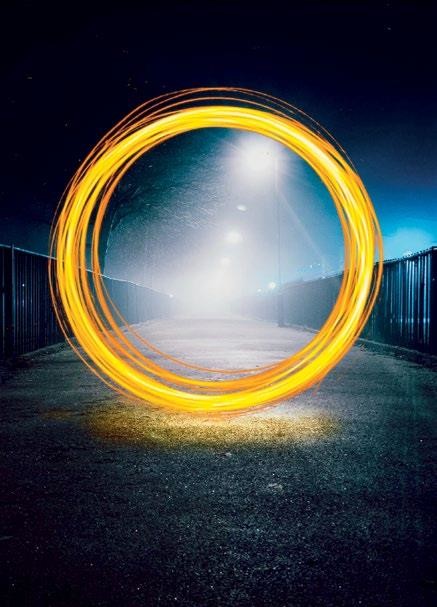
Using the Brush tool, lightly paint the area on the ground just below the portal with white. Then change the Blending mode to Hard Mix and set Fill to 55%. You’ll get something like this picture.
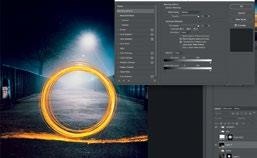
STEP 3 ADDING A DESTINATION TO YOUR PORTAL
Import another image into the workspace and arrange the layer to be underneath the “Base Portal” and Color Fill layers.
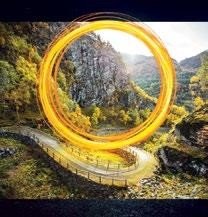
Next, create a Mask layer on the new image and use black to paint the areas outside the portal.
To make it look like sunlight is spilling out of the portal, create a new Color Fill layer above the “Base Portal copy” layer and invert the mask. Then, click on the “Gradient tool”. Press the shortcut key D to reset background/ foreground colors to black and white, and finally X to swap the foreground color to white.
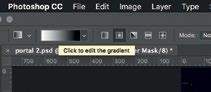
Click on the gradient selector to bring up the dialog window.
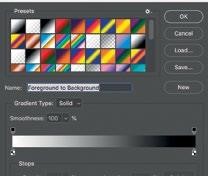
Choose the gradient that fades from white to black and click “OK”.
Make sure the “Radial Gradient” is selected.
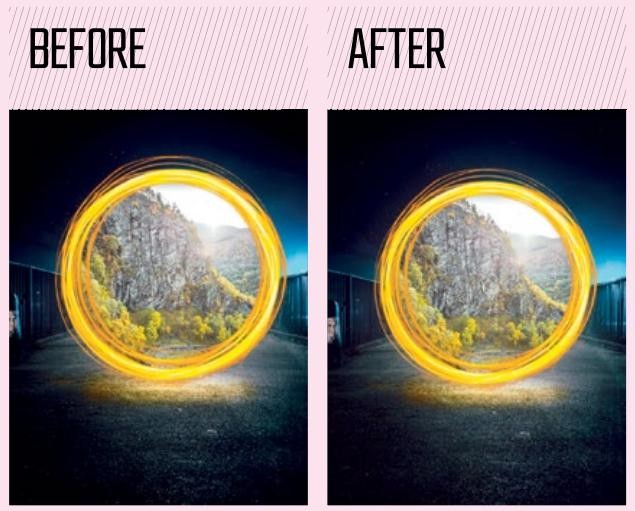
With the Masking layer selected, draw a radial gradient by clicking on the middle of the portal and dragging outwards until you’re slightly out of its circumference, then change the Blending mode to Soft Light.
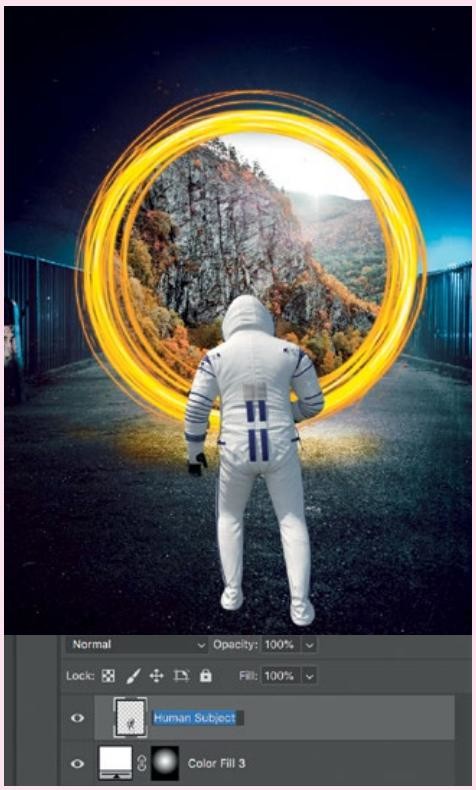
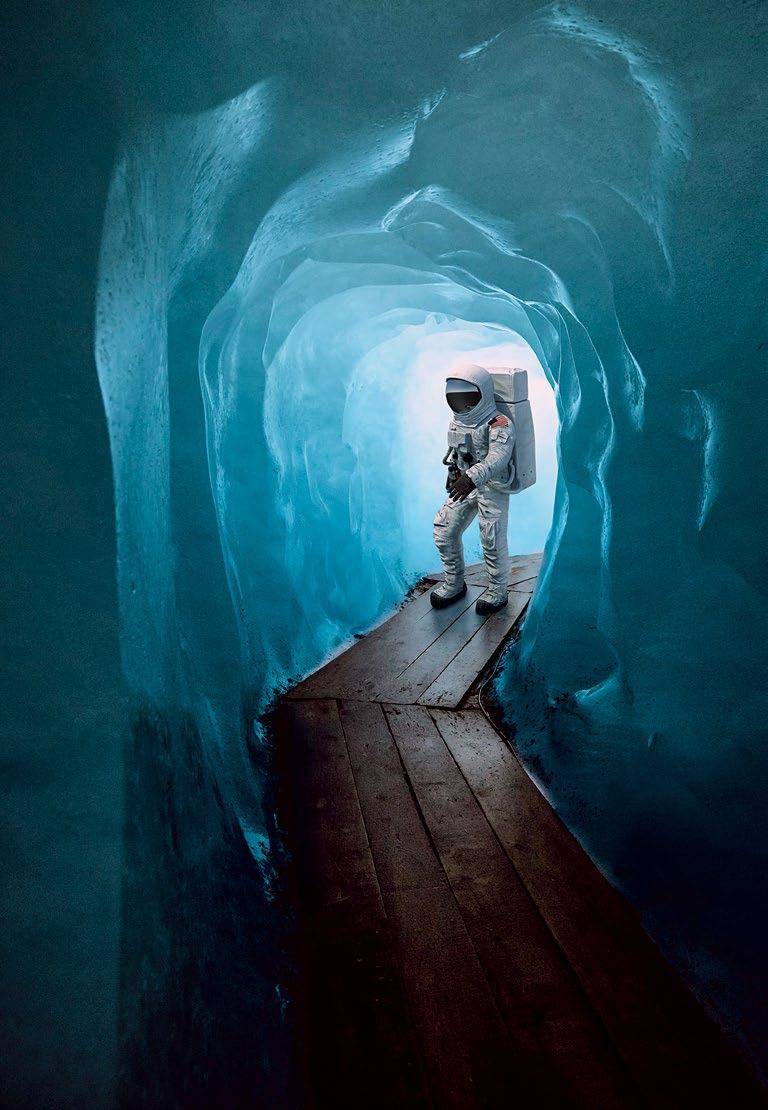
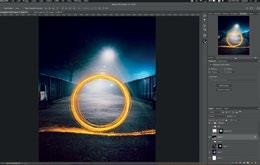
STEP 4 ADDING A HUMAN SUBJECT
Import an image of a human into the workspace and rename the layer to “Human Subject”. Ensure this layer is at the very top by dragging it above the rest.
Next, click on “Create a new fill or adjustment layer” and select Levels to create some shadows at his feet. Invert the mask and drag the layer so it’s just underneath the “Human Subject” layer.
Rename the adjustment layer as “Shadows” then set the midpoint value to 0.65.
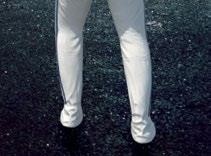
Now, paint the area behind the feet.
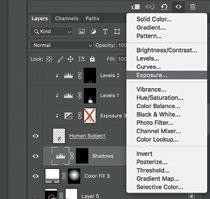
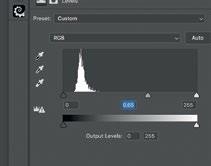
Next, we have to blend the lighting of the subject to the surroundings. So click on “Create a new fill or adjustment layer” and select Exposure. Then drag it just above the “Human Subject” layer.
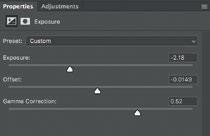
Set the following values.
Then click on “This adjustment clips to the layer” so the adjustment layer only affects the human subject layer.
Next, paint some light spillage from the portal onto the outline of the human subject by creating a new “Color Fill” layer and set the hex value to “ffe7b4” and click “OK”. Make sure to this layer is above everything else.
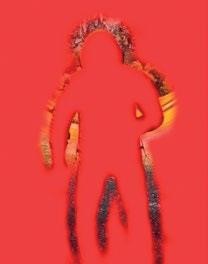
Invert the mask and brush lightly around the edges of it. Remember to check the painted areas with the “” shortcut key and clip this adjustment layer too. Then, set the blending mode to Vivid Light and Fill slider value to 90%.
Lastly, create another Color Fill adjustment layer again and set the hex value to “ffe5bf”. Make sure this is above the painted layer from the previous step, and paint more lightly and precisely around the edges.
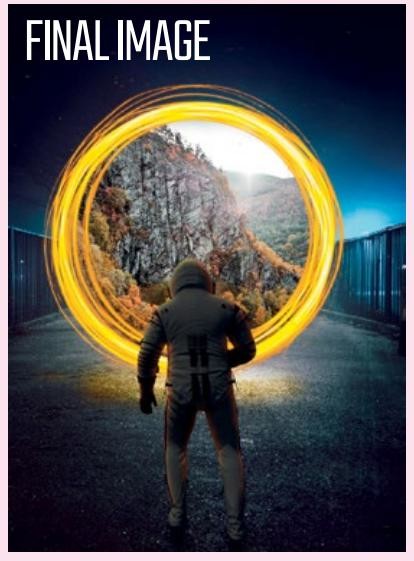
Viola! There you have it, your very own portal!
Tips and images by Goh Guoxin (@9oh9x)


