

Stunning travel photographs with just your phone.


Stunning travel photographs with just your phone.

Travel is a large part of Tristan’s role as a fellow of the Master Photographer Association, as he moves around Asia Pacific to accredit local photographers who want to join the professional guild house. His work as a professional photographer also requires him to travel at times, so here are some of his top tips for getting great holiday images with your mobile phone.
#TIP 1 : SHOOTING IN TRICKY LIGHTING CONDITIONS
Tristan says times when the sun is shining directly towards your phone’s camera (like during sunrise or sunset) are some of the trickiest situations to capture, as the high contrast often makes it impossible to give proper exposure to every element in the scene.
A quick and easy way to combat this exposure issue would be to use Lightroom CC for Mobile’s camera function. Tristan especially likes this app because it lets you shoot in RAW for free.
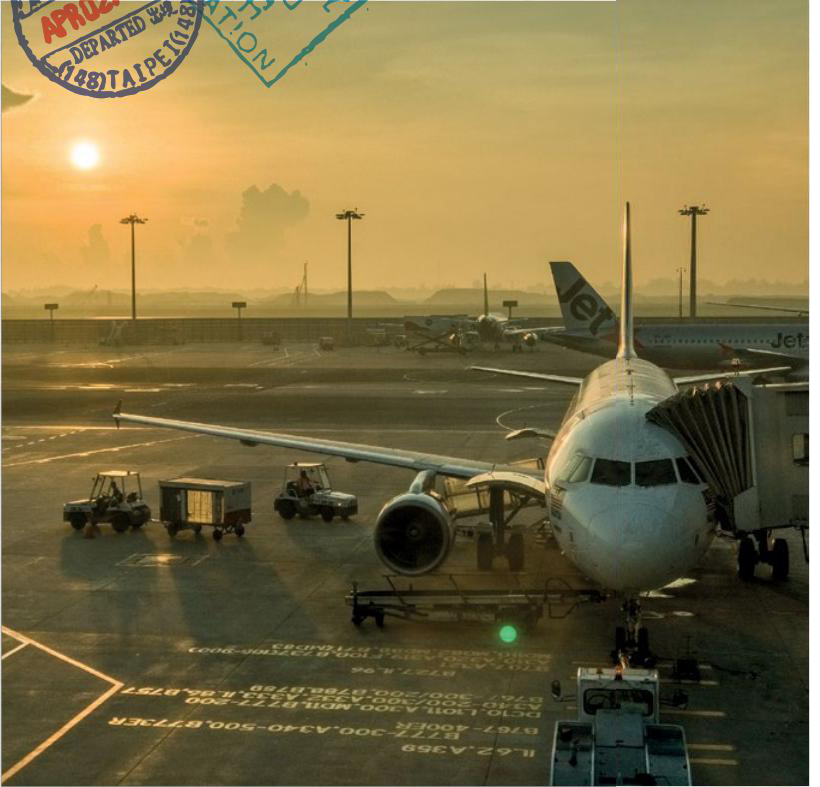
Switch on High Dynamic Range (HDR) mode, and the phone’s camera automatically snaps three photos in different exposures, merging them together in RAW DNG format to create an image with a foreground and background that isn’t too bright or dark, like this image of the airport for example.
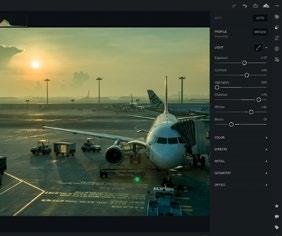
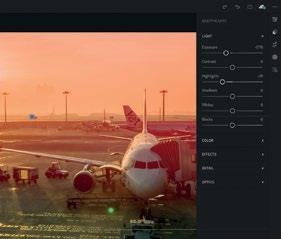
Tristan thought the foreground of the initial photograph was slightly underexposed so he made some minor adjustments in the Light Panel to bring up the exposure, shadow details of the airplane, He also increased contrast, and the level of the whites to make the image appear more three dimensional, and pulled down the highlights to preserve more details in the background.
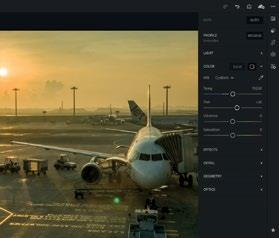
To add a little more vibrancy to the image, Tristan used the Color Panel to make the image warmer by increasing the Color temperature. He also moved the Tint slider to the right to add a few more magenta tones to the overall image. He also lowered the highlights to ensure that the sun wasn’t too bright.
Finally, he used the Graduated Filter tool under the Selective Edit Panel to reduce the exposure in the background, making the colors in the image look richer, leaving an image that was true to what he saw.

Exposed for plane. Background overexposed.

Exposed for background. Plane severely underexposed.

Initial HDR merge in Adobe DNG format
Basic Light Panel Adjustments
Color Panel Adjustment to make it warmer and more magenta
Graduated Filter to underexpose the sky to make the tones richer
#TIP 2: CREATING A DRAMATIC SCENE
When shot right, sunsets can look amazing. Unfortunately, sometimes the weather can get too misty or cloudy to produce a dramatic sunset scene. You could wait for the weather to clear up, but as tourists, you might not have the luxury of returning to the same place at the same time to get a better photograph.
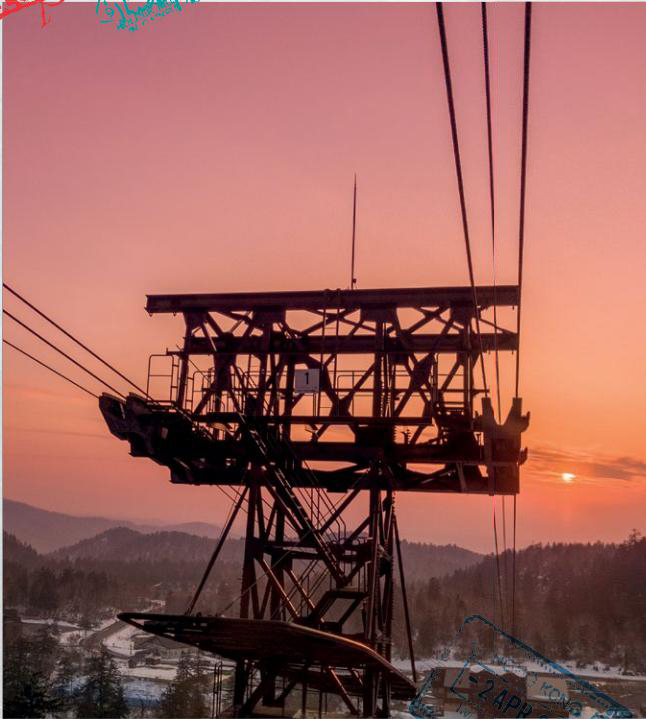
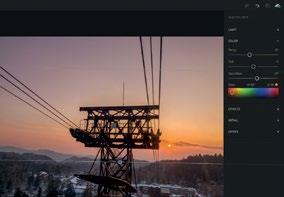
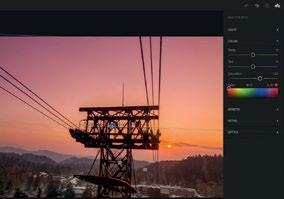
Thus, Tristan recommends using tools like the Graduated Filter. On his way down from the ropeway on the Asahidake side of Daisetsuzan National Park in Hokkaido, Tristan saw an amazing sun set in the horizon. It looked amazing, but the sun was covered by thick layers of clouds, and using a DSLR proved to be too much of a hassle.
So, Tristan quickly took out his phone, turned and snapped a couple of photos on HDR mode. Although Adobe HDR DNG format produced generally good results, Tristan felt the foreground was still too dark, and the overall image lacked punch.
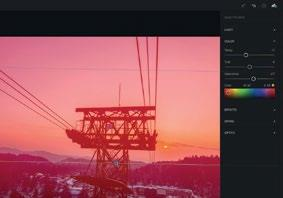
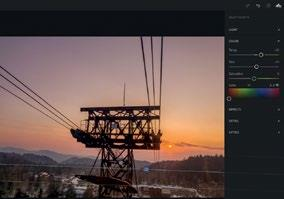
Thus, he increased the overall Exposure, lifted up the Shadows and pulled down the Highlights. Next, he used the Graduated Filter tool under the Selective Edit Panel to make the scene a little colder and more saturated. Although the sky looked more purplish than normal, it was easy to remedy by making the image a little colder through the Color Temperature slider. Tristan also overlaid an orange color tone in this filter by clicking on the relevant color.
Because the ground area on the bottom of the image still looked too cold as compared to the entire scene, Tristan used the Graduated Filter tool to increase the Color Temperature of the ground area, making the entire scene look more balanced.
Finally, he added another Graduated Filter to increase the saturation of the top half of the image. He also overlaid a red tone to add punch to the overall image so it’s more captivating and dramatic.
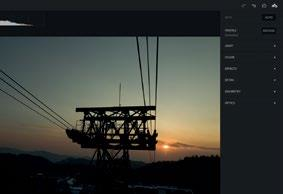
Original Image with automatic HDR
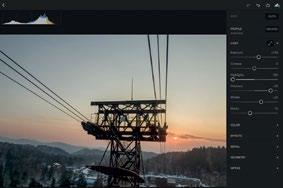
Basic Light Panel Adjustments
Selected Area to adjust the sky
Increased saturation while lowering color temperature

Selected Area to adjust the foreground
Graduated Filter to make the foreground warmer
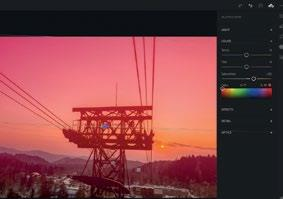
Selected Area to make the sky redder and more outstanding
Graduated Filter to underexpose the sky to make the tones richer
#TIP 3: PHOTOGRAPHING PEOPLE IN NATURAL ENVIRONMENT
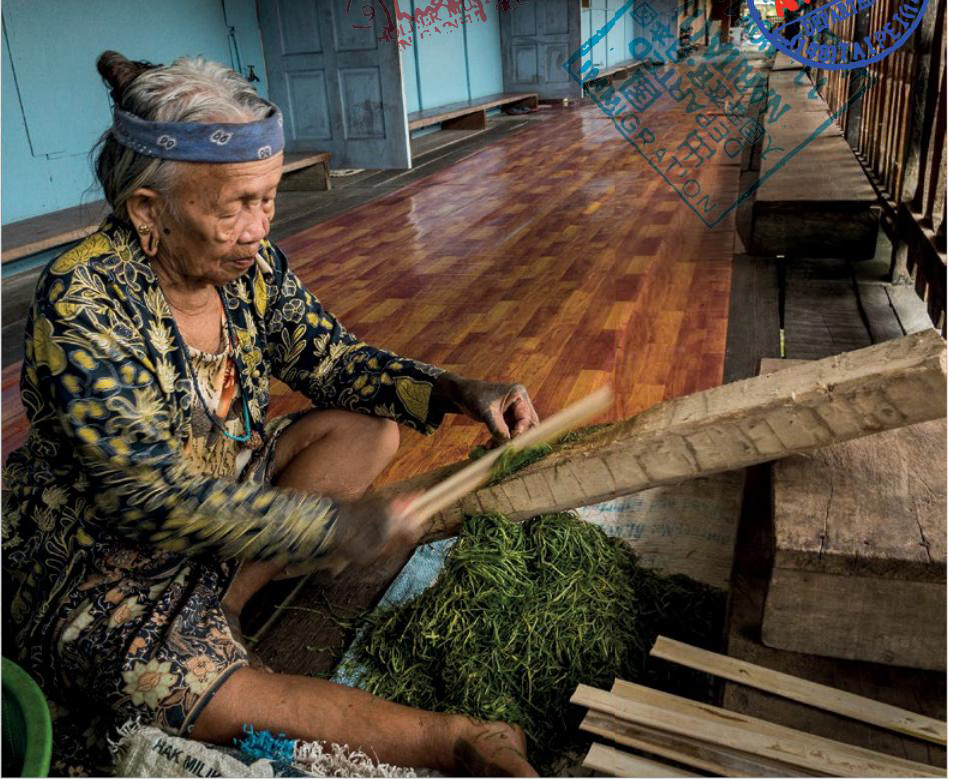
Another one of Tristan’s favorite subjects to photograph are people who have a very close cultural link to a place. Recently, he had the privilege of staying with the Kayan people in Sungei Asap, Bintulu, Sarawak.
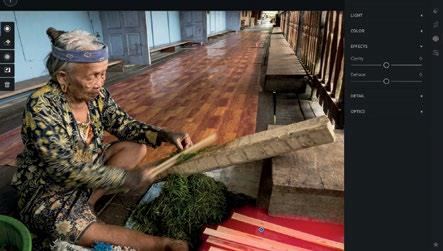
Most subjects become shy when the photographer trains a big camera on them, so Tristan chose to use his phone instead, capturing images of an elderly Kayan lady slicing tobacco leaves one early morning.
Tristan captured various angles of the elderly lady to get the best possible perspective. Although there were many photos to sort through, Lightroom Mobile allows him to flag or reject a photo by simply swiping up or down on the right side of the screen as he goes through images. You can also rate a photo from (one to five) by swiping up and down on the left side of the screen, a feature Tristan finds this pretty useful to shortlist the best photo for final editing.
This photograph was initially slightly overexposed and there were many bright areas in the photo that felt too distracting. Using the basic Light panel, Tristan brought down exposure slightly and increased the contrast and shadows to rectify the overexposure. He also lowered the highlights and pulled down the blacks to make the exposure a little more even.
To optimize the photo even more, Tristan used the Selective Edit tool to draw a radial selection around the bottom right corner where the bamboo strips were. Using this, he lowered the exposure slightly and reduced the highlights as well.
Tristan highly recommends choosing using the eraser tool at the right size to brush along the adjustment area in order to get the ideal selection.
While photographing people, Tristan thinks it’s important to emphasize a slight glow to their skin – especially around the face. The most effective way to do this is via the Luminance panel under the Hue Saturation Luminance. By increasing the luminance of the orange channel, you’ll immediately see a stark difference.
Because he found the blue wall and the wooden floor to still be a little distracting, Tristan adjusted these using the Selective Edit panel and the Graduated Filter tool. He pulled the filter down until the middle portion touched the mid-section of the lady, then decreased the exposure and highlights. Next, he used the eraser tool to fine tune the mask, bringing back the original exposure of the elderly lady’s face and mid torso.
Now, the photo looks much more balanced and the subject that draws the most attention when one looks at the image is the elderly lady’s face, rather than her surroundings.
Use Light Panel to reduce exposure and increase contrast.
Use Selective Edit to lower exposure of bamboo strips.
Refine the edges of the selection with eraser tool.
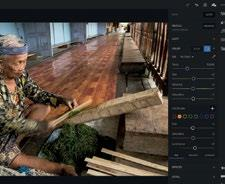
Increase luminance of orange channel for better skin tones.
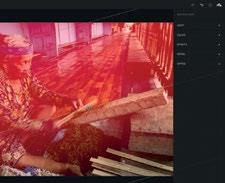
Use the graduated filter to decrease exposure and highlights.
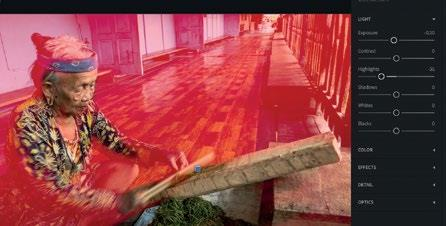
Fine tune mask with eraser tool.
Images by Tristan Yeo, Photographer


