

Still wrapping your head around the mobile cashless payment concept? Here’s how to get started.


Still wrapping your head around the mobile cashless payment concept? Here’s how to get started.
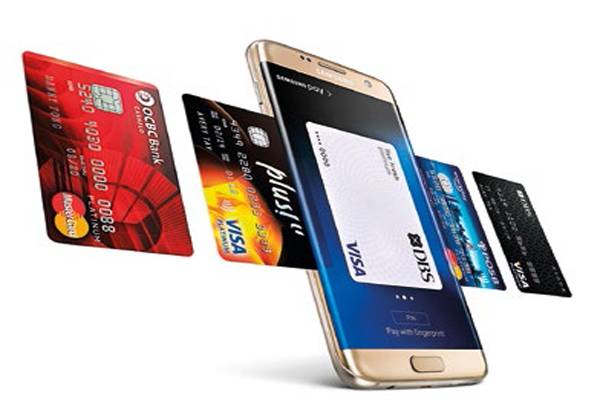
The advent of contactless smartphone payment is a welcomed move to our growing variety of alternate pay methods. While Samsung Pay supports tap-and-go NFC payments just like how Apple Pay and Android Pay do, Samsung Pay offers the extra (Magnetic Secure Transmission) MST transaction feature. In layman terms, the MST method treats phonetapping as a card swipe. Supported devices that have the technology work with traditional cashier terminals that reads the magnetic strip found on your debit or credit card. Note: Currently, only works with Samsung Galaxy Note 5, Galaxy S6 Edge+, Galaxy S7, and Galaxy S7 Edge phones.
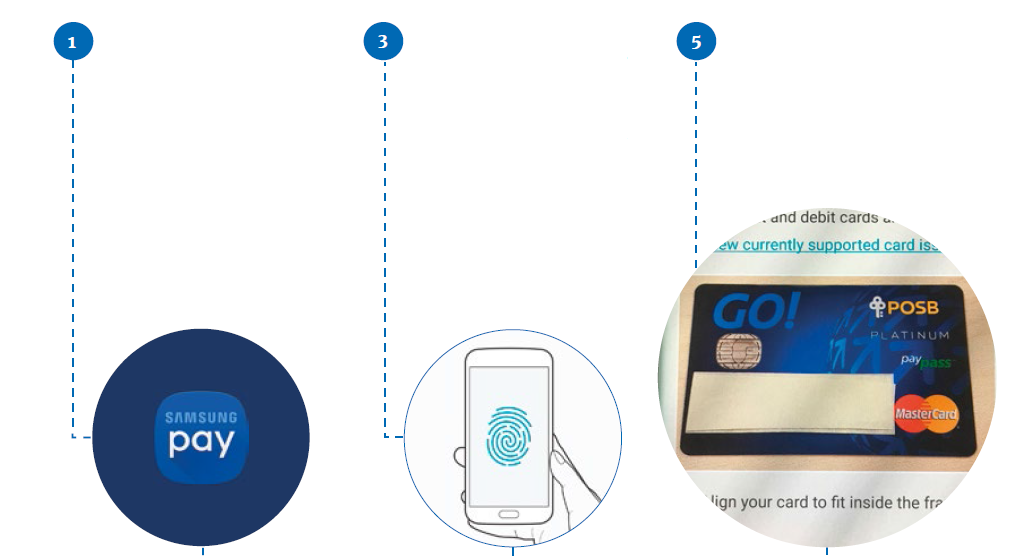
1. To start the Samsung Pay setup, enter the app once your phone has been updated.
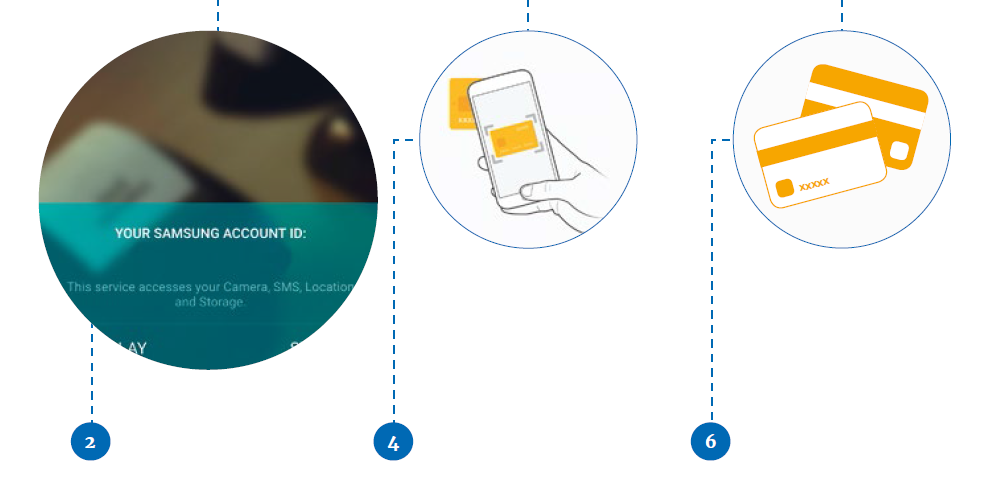
2. It is compulsory to have a Samsung Account ID. In our case, we used a standard Gmail address as our Samsung account. This is the lengthiest step in this process, but you can skip all the registration mumbojumbo if you already have an existing Samsung Account ID.
3. If you’ve already registered 5 a fingerprint PIN previously, simply proceed with verification by placing your registered finger on the fingerprint sensor. Samsung lets you choose between PIN and fingerprint verification, and we found the latter method more convenient.
4. You can now begin adding multiple cards to your Samsung Pay app. Add your first card by tapping “Add Card”. Note: it accepts both credit and debit cards from partnered banks and merchants.
5. There are two ways to add a card to Samsung Pay. The first option uses the rear camera to detect the card details, and the phone will automatically transcribe them for you.
6. Filling up your card details is similar to making an online purchase - you’ll need your 16-digit card number card expiry date, a CCV, and the name that’s registered on the card itself.
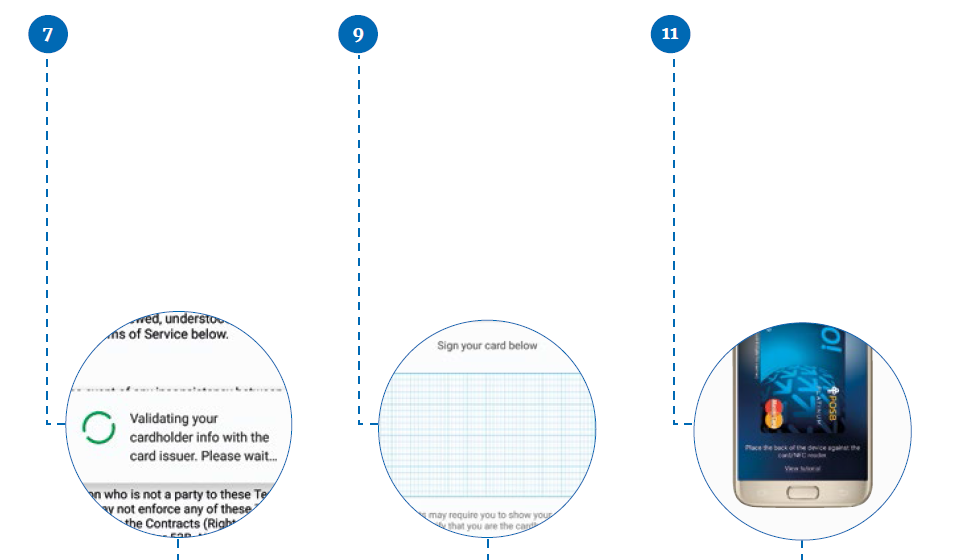
7. After agreeing to the terms, 9 Samsung Pay will take a minute to validate the card with the card issuer. When you see this pop-up, do not attempt anything - simply wait for the next set of instructions to appear.
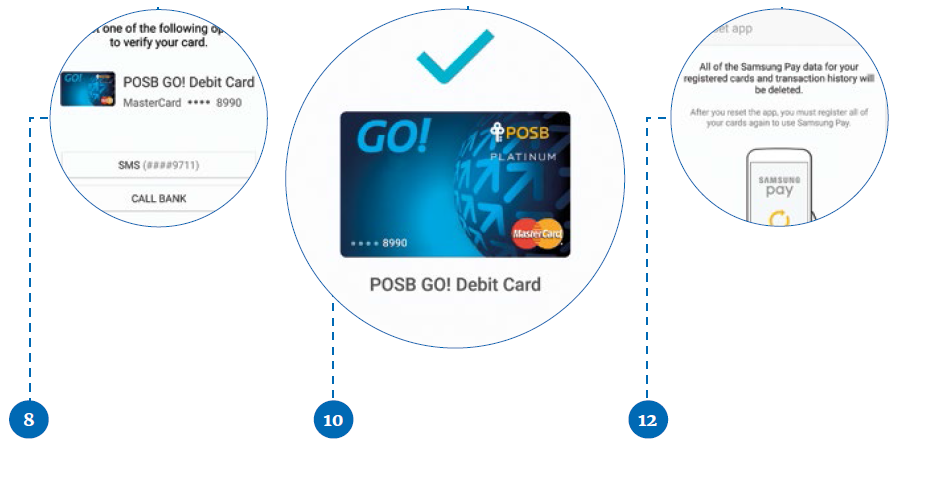
8. Once the card is considered valid for Samsung Pay, you will be asked to verify the new addition. To get the SMS, simply tap the “SMS (####)” button. The SMS comes with a one-time activation code, which you’ll have to key in.
9. Once the card is verified, Samsung Pay will prompt the user to add a signature - clearly, the signature must tally with the ones found at your respective banks. A stylus might help with your accuracy, but your fingertip would suffice.
10. Remember to check the ‘Simple Pay’ checkbox, if you’d like to pay without having to unlock your phone - the card will appear on your locked screen when you swipe upwards from the bottom bezel.
11. When paying for items, you’ll have to bring up Samsung Pay (either by the app itself or by swiping up), and scrolling to your card choice before placing your finger onto the fingerprint sensor. This is the screen’s status when your phone is ready to tap against the NFC or MST-capable terminal.
12. If you’d like to wipe all card details from your app without wiping out the smartphone, Samsung Pay has an “Reset app” feature in the app itself (tap ‘More, followed by ‘Settings’, and finally ‘Reset app’). Note that wiped details such as card history will be gone as well.


